How Do You Create a Website With Hostinger: Ultimate Guide!
Have you ever wanted to create a website? It’s easier than you think! With Hostinger, you can have your website up in no time. Hostinger is a web hosting service that helps you create and manage your website.

What You Need to Get Started
Before we start, let’s make sure we have everything we need:
- A computer with internet access
- An email address
- A credit card or PayPal account
Great! Now we are ready to begin.
Step 1: Sign Up for Hostinger
First, go to the Hostinger website. Look for the sign-up button. It is usually easy to find on the homepage.
Click the sign-up button. You will be asked to enter your email address. After that, you will create a password. Make sure to choose a strong password to keep your account safe.
Next, you will need to choose a hosting plan. Hostinger offers several plans. Choose the one that fits your needs and budget. Most beginners start with the basic plan.
After choosing your plan, you will need to enter your payment information. Hostinger accepts credit cards and PayPal. Once you have entered your payment details, click the submit button.
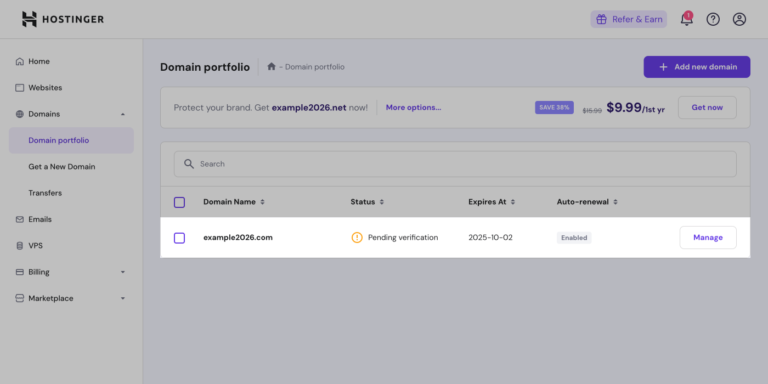
Step 2: Choose Your Domain Name
Now it’s time to choose your domain name. This is the web address people will use to find your website. For example, “www.yourwebsite.com”.
Think of a name that is easy to remember. It should also be related to your website’s content. Type your desired name into the search box on Hostinger. Hostinger will check if the name is available. If it is not available, try a different name.
Once you find an available name, select it and proceed to the next step.
Step 3: Install a Website Builder or CMS
Hostinger makes it easy to build your website. They offer several tools to help you. The most popular tool is WordPress. WordPress is a content management system (CMS). It helps you create and manage your website content.
To install WordPress, go to your Hostinger control panel. Look for the Auto Installer button. Click it and select WordPress from the list of options. Follow the on-screen instructions to complete the installation.
Step 4: Choose a Theme
Now that you have installed WordPress, it’s time to choose a theme. A theme is a template for your website. It determines how your website looks. WordPress offers thousands of free themes to choose from.
To choose a theme, go to the WordPress dashboard. Click on Appearance, then Themes. Browse the available themes and find one you like. Click the Install button, then Activate to apply the theme to your website.
Step 5: Customize Your Website
Now that you have a theme, you can customize your website. This is where you make your website unique. You can change colors, fonts, and layout.
To customize your theme, go to the WordPress dashboard. Click on Appearance, then Customize. This will open the customization menu. Here, you can make changes and see a live preview of your website.
Take your time and make your website look the way you want. Remember, you can always make changes later.

Credit: www.hostinger.com
Step 6: Create Content
Your website is almost ready! Now you need to create content. Content is the information on your website. This can be text, images, videos, and more.
To create a new page, go to the WordPress dashboard. Click on Pages, then Add New. This will open a new page editor. Here, you can add text, images, and other media. When you are finished, click Publish to make the page live.
To create a new post, go to the WordPress dashboard. Click on Posts, then Add New. This will open a new post editor. Add your content and click Publish to make the post live.
Step 7: Optimize for Search Engines
Now that your website has content, it’s time to optimize it for search engines. This helps people find your website on Google and other search engines.
To optimize your website, use a plugin like Yoast SEO. This plugin helps you improve your website’s search engine ranking.
To install Yoast SEO, go to the WordPress dashboard. Click on Plugins, then Add New. Search for Yoast SEO and click Install, then Activate.
Once the plugin is activated, you can use it to improve your content. Follow the on-screen instructions to optimize your pages and posts.
Step 8: Launch Your Website
Your website is now ready to launch! Go through your website and make sure everything looks good. Check for any errors and fix them.
When you are happy with your website, it’s time to share it with the world. Tell your friends and family about your new website. Share it on social media and other platforms.
Step 9: Maintain Your Website
Creating a website is just the beginning. You need to maintain it to keep it running smoothly.
Regularly update your content to keep it fresh. Check for broken links and fix them. Make sure your website is secure by keeping your software up to date.
With a little effort, your website will continue to grow and attract visitors.
Up to 95% off hosting + website builder
Frequently Asked Questions
How Do I Start Creating A Website With Hostinger?
To start, sign up for a Hostinger account. Then, choose a hosting plan and register a domain.
Is Hostinger Suitable For Beginners?
Yes, Hostinger is user-friendly. It offers easy website builders, tutorials, and 24/7 customer support to help beginners.
What Features Does Hostinger Provide For Website Creation?
Hostinger provides drag-and-drop builders, templates, free SSL, and one-click WordPress installs. Ideal for creating websites easily!
Conclusion
Creating a website with Hostinger is easy and fun. Follow these steps, and you will have your website up in no time. Remember to keep your content fresh and your website secure.